Field Notes / Camping

Building a Simple Tarp Shelter

A straightforward introduction to setting up a basic tarp shelter for shade, weather cover, and general campsite utility.

May 21, 2026 · TYPE III® Field Notes · 6 min read

A tarp shelter is one of the most useful examples of what compact utility cord can support in the outdoors. With a few anchor points and a clean setup process, a basic shelter can improve comfort, organization, and weather readiness around camp.

This guide covers a practical setup approach that keeps the process simple and field-oriented.

Article Overview

Shelter setup is mostly about site choice and tension

You do not need an elaborate system to build effective cover. Good placement, a clean ridgeline, and stable anchor points do most of the work.

TYPE III® gear is presented around real utility. Tarp shelters are a good example: the goal is not a showpiece, but a dependable setup that works in ordinary outdoor conditions.

Quick Facts
Key prioritiesSite choice, wind direction, drainage, ridgeline placement, and even tension.
Useful forCamp cover, cooking areas, gear protection, shade, and light rain shelter.
Best mindsetKeep the setup simple, adaptable, and responsive to the conditions.
Article 01 / Why tarp shelters work

Lightweight shelter with practical flexibility

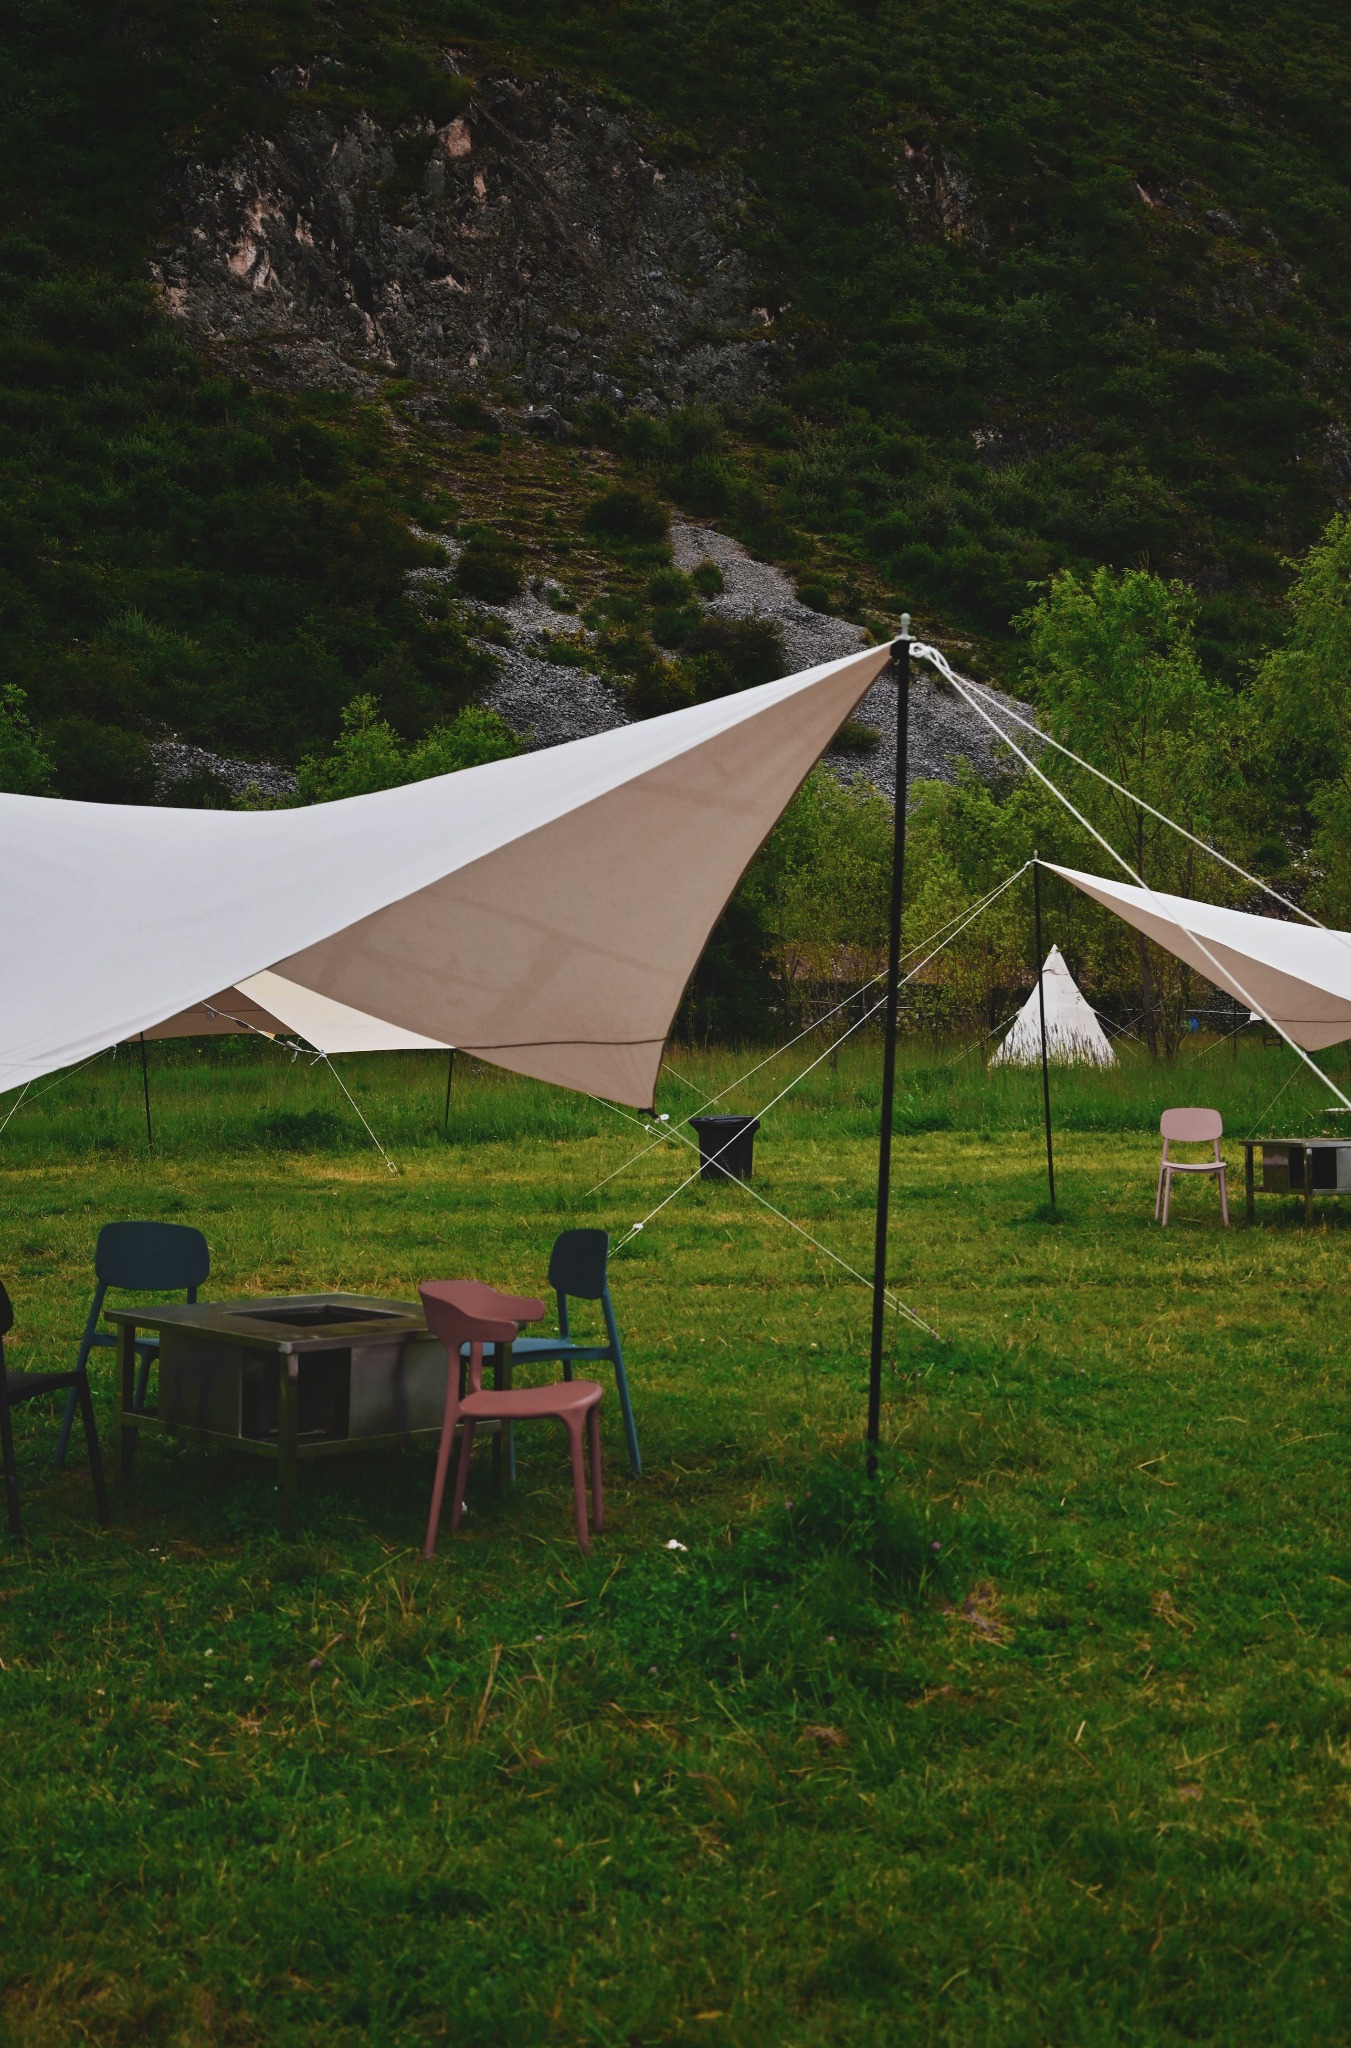
A simple tarp shelter is useful because it offers fast overhead cover without requiring a complicated structure. For camp cooking, shade, light weather protection, or temporary rain cover, a basic tarp setup can add a lot of flexibility to a campsite.

The key is not to overcomplicate the process. Good positioning, clean tension, and a practical ridgeline matter more than elaborate setup.

Simple tarp shelter set up in a grassy field
Article 02 / Site choice

Choose the site before you tie the first line

Start by reading the site. Check wind direction, drainage, overhead hazards, and the natural shape of the ground. The best tarp pitch is often determined by the environment long before the first knot is tied.

Watch the wind

Angle the tarp so the most exposed side is not directly taking the full force of the wind.

Protect drainage

Avoid low spots where rainwater can collect or run through your shelter area.

Check overhead

Look for unstable branches and avoid pitching under obvious falling hazards.

Think about use

Decide whether the shelter is for sitting, cooking, gear storage, or sleeping before choosing the shape.

Article 03 / Basic setup

Build the shelter around a clean ridgeline

One of the simplest approaches is to establish a ridgeline between two anchor points or between two support poles. Once the ridgeline is set, drape the tarp, secure the corners, and begin tensioning outward until the structure becomes stable and sheds water properly.

Set the ridgeline first so the overall shape stays consistent.
Stake corners outward to create usable interior space.
Retighten gradually instead of over-pulling one corner at a time.
Leave enough slope for rain to run away from the covered area.
Camp tents in misty mountain weather
Article 04 / Weather adjustments

Adapt the shelter to the conditions

In calm conditions, you may want more headroom and airflow. In wet or windy weather, a lower pitch with tighter sides often works better. A tarp shelter should respond to conditions, not stay fixed in one idealized shape.

Tent campsite beside a river
Field note: Shelter setup gets easier the more often you practice. Even a short backyard or local-park setup can teach a lot about tension, anchor points, and rain runoff.
Article 05 / Final thoughts

Keep the setup simple, stable, and field-ready

A basic tarp shelter does not need to look complicated to work well. Prioritize stability, usable space, and weather awareness. Those three factors will usually matter more than any specific pattern name.

Safety note: In severe wind, lightning, or hazardous weather, a simple tarp shelter has limits. Always adjust your setup and your site choice with safety in mind.

Built for practical use. Ready for real outdoor conditions.